Configuring workspace settings#
This guide documents how to configure some advanced workspaces in Adverity.
Introduction#
Configure your workspaces in the workspace settings page. If you want to configure workspace settings for an Explore & Present workspace, see Configuring workspace settings in Explore & Present.
Configuring advanced workspace settings#
To configure the advanced settings for a workspace in Adverity, follow these steps:
Go to the Administration page.
In the secondary menu, click Settings.
Configure the following settings and click Save.
General#
In this section, you can configure general settings for this workspace.
- Name
Enter a new name for the current workspace.
- Parent
Select a parent workspace for the current workspace.
User rights and some configurations are inherited from parent workspaces.
- Storage
Select a local storage to store collected data extracts.
You can also edit the selected storage or create a new one. For more information, see Setting up storage for data extracts.
- Default destination
Select the default destination into which collected data extracts will be loaded.
- Show tasks of subworkspaces
Select this checkbox to show all tasks of child workspaces on the Activity page of the current workspace.
- Show “Share with child workspaces” and “Fetch data sequentially”
Select this checkbox to show these settings for all datastreams in the current workspace.
For more information, see Configuring advanced datastream settings.
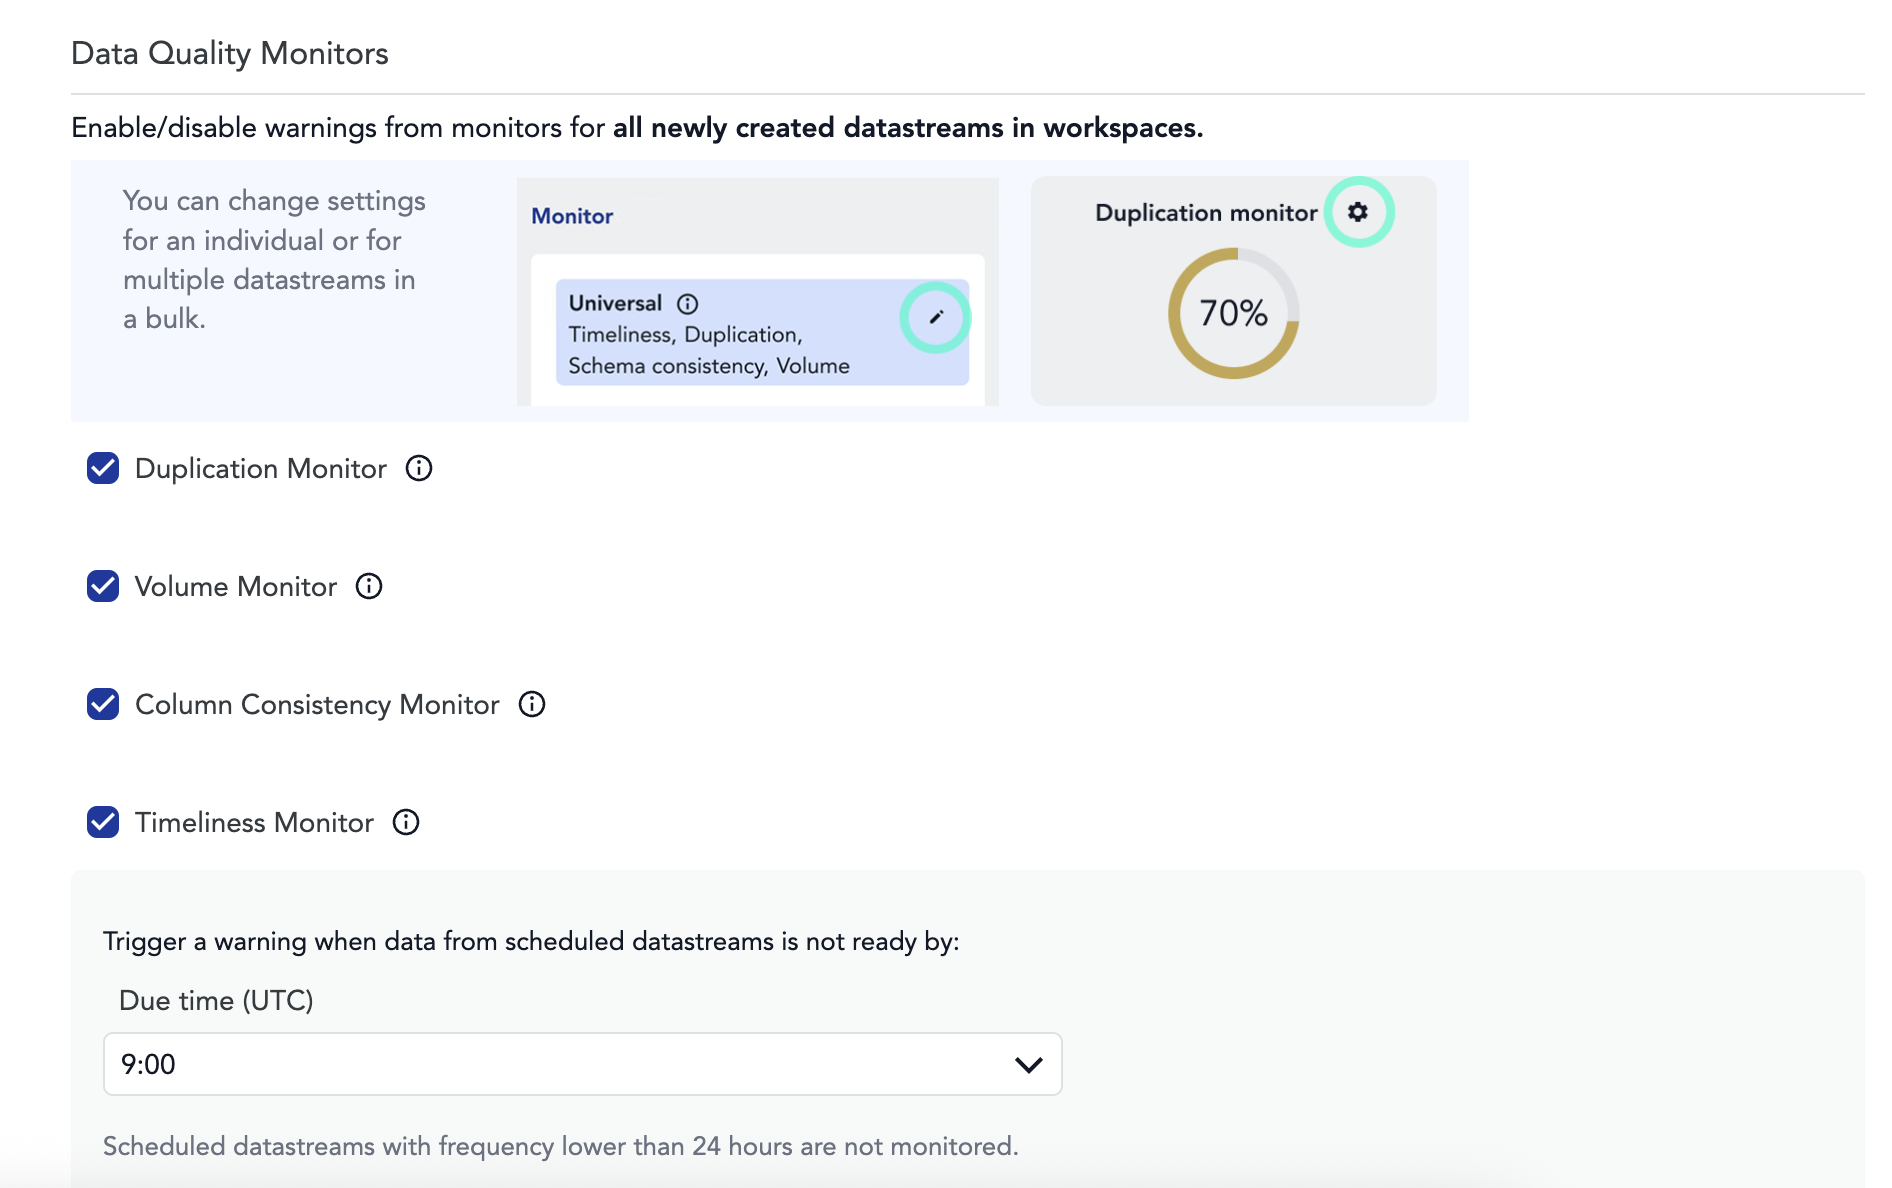
Data Quality Monitors#
In this section, you can configure the default settings for universal monitors in this workspace.
- Enable/disable warnings from monitors for all newly created datastreams in workspaces
Select the universal monitors to enable by default for all newly created datastreams in this workspace. You can enable the following monitor types:
Duplication
Volume
Column Consistency
Timeliness
For more information, see Working with universal monitors.

Appearance#
In this section, you can update the logo and logo brand color of your workspace.
- Logo
Change the logo you use in Adverity. This logo appears in the top left corner of Adverity, next to the workspace name.
The logo must be less than 20 MB in size, and in one of the following file formats: PNG, JPG, GIF, SVG, XML.
To add or change the logo, click Choose file and select the file you want to use.
To remove the logo, select the Clear checkbox next to the file name.
- Logo brand color
Enter the HEX code of the brand color or select the color of your choice from the color picker.
Datastream defaults#
In this section, you can configure default settings for new datastreams. You can apply different configuration for individual datastreams later.
- Extracts per fetch default
Select a default Extracts per fetch configuration for new datastreams.
Select one of the following options:
Receive extracts as they are fetched - choose this option to keep the number of data extracts defined by the datastream configuration.
Split fetch into daily extracts - choose this option to create a separate data extract for each day in the time range specified for the fetch. The date is determined by the column set as a Key date column for the datastream. Use this option to ensure that the data collected by the datastream is distinct and there are no duplicate rows.
Grace Period#
The grace period determines how long data extracts that are marked for deletion are kept in Adverity before being permanently deleted. By default, data extracts that are scheduled to be deleted are kept for 30 days and are then deleted. To extend or reduce this grace period, configure the following fields:
- Override default grace period
Select this checkbox to edit the grace period.
- Grace period
After selecting the checkbox above, enter the new number of days for the grace period.