Loading data into external destinations#
Beyond Adverity analytics, you can send your harmonized data to external tools. This guide shows you how to load data into destinations such as BI tools, file storage, or databases.
Introduction#
- What is an external destination?
An external destination is a tool or system outside Adverity where you want to send your data. This includes BI tools like Looker Studio or Tableau, file storage like Amazon S3, and databases like BigQuery or Snowflake.
- Why would I load data into an external destination?
External destinations let you use your harmonized Adverity data in the tools your team already relies on. You can feed dashboards, automate reports, or integrate with other systems in your data stack.
Prerequisites#
Before loading data into an external destination, you need:
A created datastream
At least one successful fetch
Data Mapping applied to the collected data extracts
This video guide explains how to create and configure an external destination.
Loading data into an external destination#
Note
You need to create a datastream, fetch data, and apply Data Mapping before you can load data into an external destination. See Collecting data and Applying Data Mapping.
To load data from a datastream into an external destination, follow these steps:
Go to the Datastreams page.
Click the datastream that contains the data you want to load into your chosen destination.
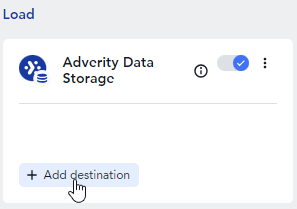
In the Load section of the datastream overview, click + Add destination.
If you are loading data into your chosen destination for the first time, in the pop-up window, click Create new destination.
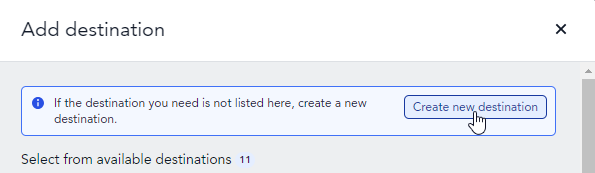
This opens the destination creation wizard.
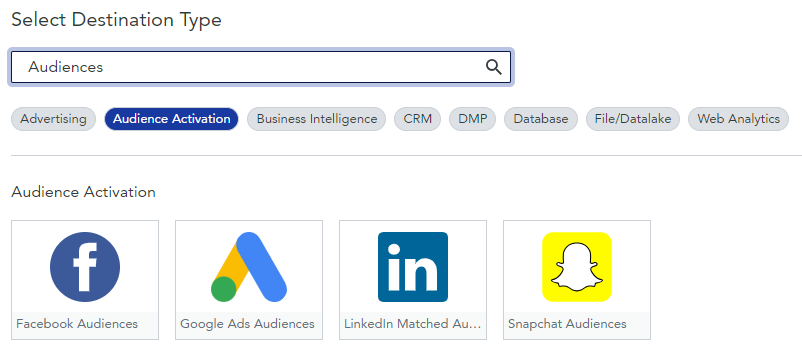
In the Type step, search for and click your chosen destination.
You can filter Adverity’s destinations according to their type by clicking the gray destination type options under the search field.
In the Authorization step, choose whether to use your credentials or someone else’s credentials to authorize Adverity to access your chosen destination.
Click Next and follow the instructions to complete the authorization process.
Note
If you ask someone else to authorize the connection, you will receive a notification once the authorization has been granted. Until then, you cannot continue creating your destination.
To continue creating a destination, follow the steps above to start the destination wizard again, select your destination, and then in this step, choose the new authorization from the list of existing authorizations.
In the Configuration step, adjust the settings for your destination.
Our individual destination guides contain detailed information about the configuration steps for each destination.
After you have created your destination, it is automatically assigned to the datastream you selected in step 2. It will now appear in the Load section of the datastream overview.
In the Load section of the datastream overview, enable the toggle next to the destination to enable this destination.

In the pop-up window, configure how to load data into the destination and click Save. This step is not required for some destinations.
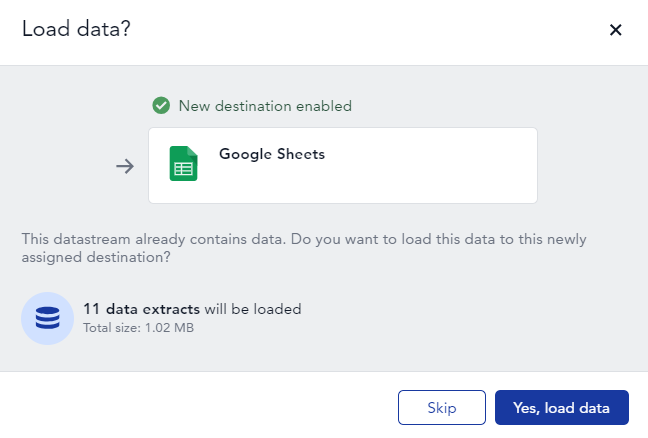
In the Load data? pop-up window, click Yes, load data if you want to automatically load your previously collected data into the destination. The following data extracts will be loaded:
All data extracts with the status collected if no other destinations are enabled for the datastream
All data extracts with the status loaded if the data extracts have already been sent to Data Warehouse or external destinations
Alternatively, click Skip to re-load the data extracts manually.
If you clicked Skip in the previous step, to manually load the data you have already collected into this destination, scroll to the All tasks tab to find the data extract you want to load into your destination, then click
 Reload in the Load task stage.
Assigning an existing destination to a datastream#
After creating a destination, you can assign it to another datastream. To do this, follow these steps:
Complete steps 1–3 in Loading data into an external destination above.
In the pop-up window, select the checkboxes for the existing destinations you want to assign to this datastream.
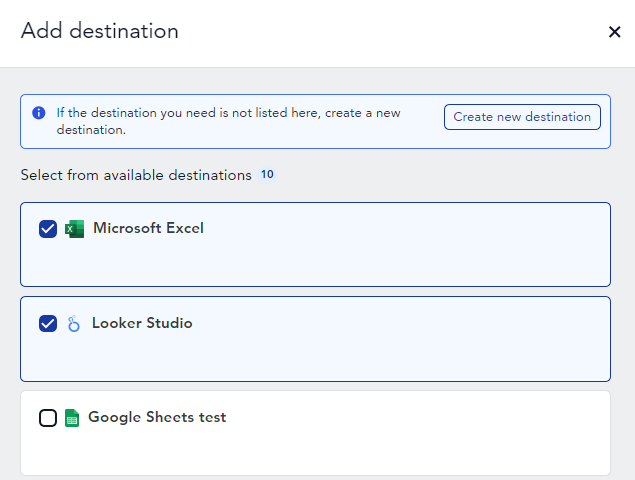
Click Save.
The destination will be automatically assigned to your chosen datastream. It will now appear in the Load section of the datastream overview.
In the Load section of the datastream overview, enable the toggle next to the destination to enable this destination.
In the pop-up window, configure how to load data into the destination and click Save. This step is not required for some destinations.
In the pop-up window, click Yes, load data if you want to automatically load your previously collected data into the destination. The following data extracts will be loaded:
All data extracts with the status collected if no other destinations are enabled for the datastream
All data extracts with the status loaded if the data extracts have already been sent to Data Warehouse or external destinations
Alternatively, click Skip to re-load the data extracts manually.
If you clicked Skip in the previous step, to manually load the data you have already collected into this destination, scroll to the All tasks tab to find the data extract you want to load into your destination, then click
Reload in the Load task stage.
What’s next?#
Now that your data is flowing where you need it, the final step is to visualize it. Continue to the next guide: Creating widgets and a dashboard.
For more information about setting up destinations, see Setting up destinations.